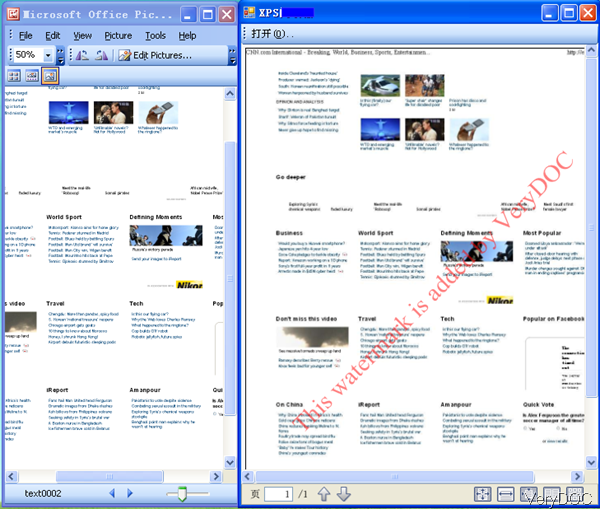
XPS stands for XML Paper Specification. It’s a document type developed by Microsoft, which serves as a PDF alternative. And this file format is good when you need to print XPS file directly. During the printing job, some times you may need to design watermark on it and then print XPS file with watermark. VeryDOC Image to XPS Converter can help you convert image to XPS and design watermark.
When you design watermark, you can choose which font as watermark fonts, which color, which position and others. Meanwhile, you can control the watermark height and width, opacity of watermark from 0 to 100, rotating angles and bold or italic font.
Step 1. Download Image to XPS Converter
- This software is command line version and it sells at USD$79 now. If you do not change software working casually, you can use this software forever.
- When downloading finishes, please unzip this software then find the executable file in extracted folder.
Step 2. Convert Image to XPS and Control Watermark style
- When you run the conversion, please refer to the usage and examples.
Usage: img2xps.exe [options] [Options] <Image Files> - When you need to convert image to XPS and add watermark, please refer to the following command line template.
- img2xps.exe -wtext "Watermark" C:\input.tif
img2xps.exe -wtext "Watermark" -wtype 1 C:\input.tif
img2xps.exe -wtext "Watermark" -wf "Arial" C:\input.jpg
img2xps.exe -wtext "Watermark" -wh 200 C:\input.jpeg
img2xps.exe -wtext "Watermark" -wb -wi -wu -ws C:\input.gif
img2xps.exe -wtext "Watermark" -wo 80 C:\input.png
img2xps.exe -wtext "Watermark" -wo 80 -wa 75 C:\input.bmp
img2xps.exe -wtext "Watermark" -wc "FF0000" C:\input.tga
img2xps.exe -wtext "Watermark" -wc "00FF00" C:\input.wmf
img2xps.exe -wtext "Watermark" -wc "0000FF" C:\input.emf
img2xps.exe -wtext "Watermark" -wx 100 -wy 100 C:\input.tif
Related Parameters:
-wtext <string> : when you specify text of watermark on printed document, please add this parameter
-wtype <int> : by this parameter, you can control type of watermark. You can under it as position type.
0 : normal watermark
1 : watermark on header
2 : watermark on footer
-wf <string> : font name of watermark, say you can specify the font as times new Roman or others.
-wh <int> : font height of watermark
-ww <int> : font width of watermark
-wb : specify bold font
-wi : specify an italic font
-wu : specify an underlined font
-ws : specify a strikeout font
-wo <int> : when you need to control opacity of watermark, from 0 to 100, please add this parameter, say you can use wo 80 , the opacity of watermark is 80 percent.
-wa <int> : angle of watermark
-wc <string> : color of watermark,
FF0000: Red color
00FF00: Green color
0000FF: Blue color
HexNum: Other colors
-wx <int> : X offset of watermark
-wy <int> : Y offset of watermark
Now let us check the effect of conversion and adding watermark from the following snapshot.
During the using, if you have any question, please contact us as soon as possible.